
Showing posts with label maya. Show all posts
Showing posts with label maya. Show all posts
Monday, 14 May 2018
Tuesday, 24 April 2018
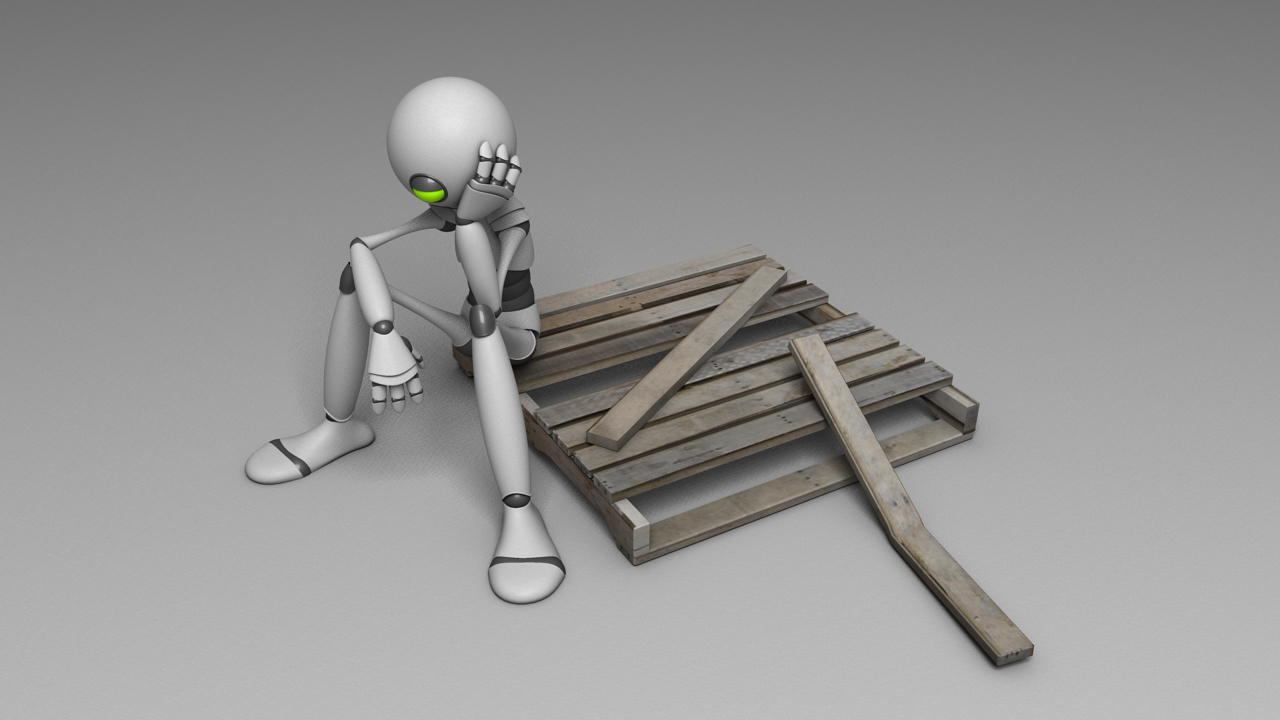
Major Project - Taste - Impromptu Maya update
Just thought I'd post this. Finished skinning him today and decided to play around with lighting just to see how it interacts with the models hard edges. Sorry if it's a bit Lynchian, it doesn't reflect the aesthetics of the project at all. I just enjoy red and blue gel lighting in films.
Wednesday, 8 November 2017
Arnold - Sylisation Toon Shaders & Cartoon FX, Override Sets & Stand Ins's
Stylisation Toon Shaders


The image below perhaps best displays the power of stand ins. Rendering something like this would be incredibly intensive if the object was merely duplicated. Instead, when using stand ins, it drastically reduces the render time whilst allowing a vast amount of objects to be displayed.

I'm really glad to know that there is a way of achieving this kind of stylized effect within Arnold. Though it seems like I'd need to have a custom texture for each segment of this object in order to retain greater control over the effect.

Below is the node graph necessary to achieve the effect above.

Override Sets
This technique greatly reduces render time within Arnold, in essence, being a workflow optimisation, allowing you to render out smooth without having to manually set each object's subdivision.


Stand Ins's
Again, this is another way of reducing the amount of processing power it takes within a scene, in this case, when the need arises to display multiple instances of an object.

Importing the exported ASS file. This file is created by selecting the object, going to "Arnold/StandIn/Export" with the object selected.

The image below perhaps best displays the power of stand ins. Rendering something like this would be incredibly intensive if the object was merely duplicated. Instead, when using stand ins, it drastically reduces the render time whilst allowing a vast amount of objects to be displayed.

Wednesday, 11 October 2017
Arnold Sessions 01
I found this selection of tutorials invaluable to understanding the differences the Arnold renderer has to offer over 2016's Mental Ray. There's a real breadth of changes which I'm still yet to decide if I'm entirely on board with. Though I must say, they have made the process of creating convincing looking skin look simpler and more intuitive, and there's no denying the sheen it adds to materials. Plus there's a lot of customisation options in there which really do invite further experimentation.
In particular, the addition of a "roughness" slider in the material options really surprised me. Allowing light to react differently depending on how rough the material is in "reality", It really invites the notion that you're not simulating the materials anymore, but rather, actually using them.
 |
| AO With Wireframe |
 |
| Detective's desk with aiStandard |
In particular, the addition of a "roughness" slider in the material options really surprised me. Allowing light to react differently depending on how rough the material is in "reality", It really invites the notion that you're not simulating the materials anymore, but rather, actually using them.
 |
| Arnold Sub Surface Scatter |
Friday, 19 May 2017
Pipeline 01 - Part 6: Adding Teeth & A Tongue
This is how far I've progressed with JPJ. I'm obviously retreading things I've completed in my Olga model at this point, but I want to make sure he's complete too, regardless of missing the deadline. Once he's done I'm going to go back to work on Olga to work out and residing issues.

Thursday, 18 May 2017
Mental Ray Part 11: Mental Ray Proxies
I can definitely see how introducing this into my workflow will help negate the drag on my processor the viewport can tend to have when working with complicated meshes. It seems extremely useful for building sets and implementing on a 'work as you go' basis in order to keep scenes less cluttered.


Mental Ray Part 10: Motion Blur
It was quite nice learning the differences between a higher grade of motion blur and what effects it bestows on an animation, as well as the difficulties included in utilising it on an animation that contains deformation.


Mental Ray Part 9: Ambient Occlusion
It took some time to figure out just how to switch the Legacy Render layers back on in order to achieve the last image here, but It also led me to experimenting with the current Render Setup settings, which I will continue to do in order to cultivate further skills for future versions of Maya.


Mental Ray Part 8: Displacement Maps
I found it extremely useful to see how powerful displacement maps could be when applied to simple surfaces. It took a bit of translation between versions of Maya but I managed to complete most of this tutorial to a satisfactory level. I had trouble with the Toadstool no matter how I went about it though.


Wednesday, 17 May 2017
Mental Ray Part 7: High Dynamic Range
I found this tutorial to be very interesting as it incorporated a lot of Photoshop techniques and practical knowledge about digital photography. I'd always wondered how the process of match lighting was done in the first place, bar the knowledge that you need a mirror ball. So this tutorial was invaluable to me.
Also, Is that Dungeness?
Also, Is that Dungeness?


Tuesday, 16 May 2017
Mental Ray Part 6: Mia Material X Shader
During the progress of this tutorial I was struck by just how malleable the presets on these materials can be, and began to experiment with mixing different ratios to see what materials I could come up with.

Mental Ray Part 5: Portal Lights
This rendering tutorial expanded on the physical sun and sky tools present in the last tutorial and made them applicable for an interior through the use of two area lights placed at either window to maximise the light getting inside the structure.
Although my computer took a while with the render it was worth the wait.
 |
| First Render |
 |
| Intermediary Render |
 |
| Final Render |
Mental Ray Part 4: Physical Sun & Sky


It was really interesting learning about this tool, especially with how versatile it ends up being. Above are two of the final renders created during the completion of this tutorial.
Mental Ray Part 2: Final Gather
I had a much better time with this tutorial, and found it went mostly smoothly. Though I had to play with the lighting settings in order to be able to see the model clearly as it ended up a bit too dark for my liking.
Below is the final render and the settings used in the Final Gather section in the render settings.


Lighting And Rendering 2: Samples & Quality Control
I experienced some difficulty with this tutorial as I was either using the wrong version of Mental Ray or Maya. Ultimately I had to be creative towards the end of the tutorial as I wasn't getting the same results as Alan, despite triple checking everything.


I settled on lowering the Anti-aliasing contrast in order to achieve a greater amount of blurring on the raytraced shadows as it seemed to be the only thing I could do to make them look less grainy. Below is the final render of this tutorial.
Thursday, 30 March 2017
Pipeline 01 - Facial Rigging 04
I'm progressing quite well with this bunch of tutorials. Despite the intricacy of what's involved I am finding them a nice challenge.
Pipeline 01 - Facial Rigging 02 & 03
Just a quick update on my Facial Rigging progress. I've nearly completed the first chunk of tutorials, detailed below.


Very much looking forward to applying this mouth ribbon to my model.
Wednesday, 29 March 2017
Pipeline 01 - Facial Rigging 01
I finished the first part of the Facial Rig tutorials last night, and here's how it looks. The model itself is starting to feel like there's a character there, even more so than before. So it seems a treat to be the one causing this. I'll be settling down on these to focus on Adaptation B next.

Tuesday, 28 March 2017
Pipeline 01 - Rigging 04 (Complete)

All finished, ready for me to move on to the Facial Rigging tutorials. Looking forward to getting stuck into those, judging by the amount of them it'll be quite a thing to sink my teeth into.
Pipeline 01 - Rigging 03
Storming through the Rigging portion of the tutorials, and I'm finding it really fun. Again, I'm not sure why I'm drawn to rigging, but I definitely enjoy it.
Subscribe to:
Posts (Atom)